
There’s just something about red velvet that feels instantly special. Maybe it’s the deep ruby color, maybe it’s the hint of cocoa, or maybe it’s how dramatic and indulgent it looks without actually being complicated. These Easy Mini Red Velvet Cheesecake Hearts are one of those desserts that make people stop mid-sentence and say, “Wait… you made these?”
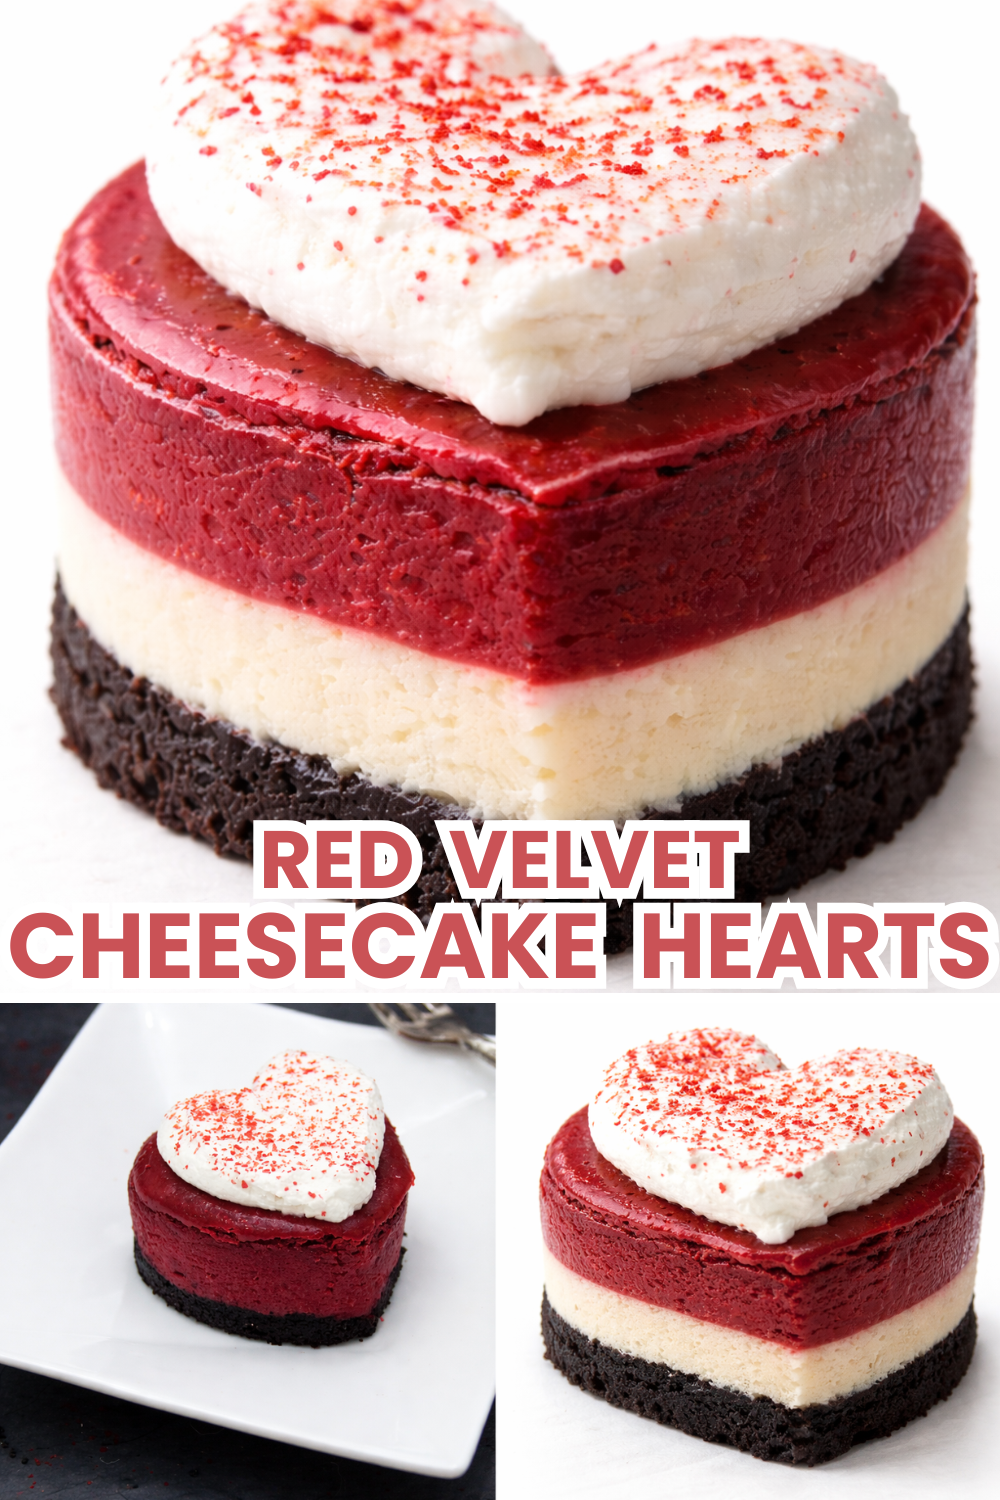
They’re rich, creamy, and perfectly portioned, with a buttery Oreo crust that somehow makes red velvet even better. Whether you’re making them for Valentine’s Day, a themed party, or just because you’re craving something a little extra, these mini cheesecakes feel festive and fun without requiring bakery-level effort. Bonus: they photograph beautifully, which makes them very Pinterest-worthy.
PrintEasy Mini Red Velvet Cheesecake Hearts
Ingredients
Oreo Crust :
36 Oreo cookies, crushed finely using a food processor or by hand
1/2 cup butter, melted
2 Tablespoons granulated white sugar
Cheesecake :
3 (8 ounce) packages cream cheese, at room temperature
1 1/2 cups granulated white sugar
4 large eggs, lightly beaten
3 Tablespoon unsweetened cocoa
1 cup sour cream
1/2 cup buttermilk
2 teaspoons vanilla extract
1 teaspoon distilled white vinegar
2 ounces red food coloring, (two 1-ounce bottles)
Cream Cheese Frosting :
4 ounces cream cheese
1/4 cup butter, at room temperature
2 cups powdered sugar
1 teaspoon vanilla extract
Edible Blood :
4 parts corn syrup to
1 part water red food coloring
blue food coloring
cornstarch
Instructions
Preheat oven to 350 degrees and line a regular sized cupcake pan with paper liners.
or the crust. Combine Oreo cookie crumbs, butter, and sugar. Press 1 Tablespoon of the crumb mixture into the bottom of each liner.
I used a Tablespoon measuring spoon and pressed it down with the spoon.
For the cheesecake: Beat cream cheese and sugar at medium-low speed with an electric mixer for 1 minute. Add eggs, cocoa, sour cream, buttermilk, vanilla, vinegar, and food coloring and mix until just combined.
Using a cupcake scooper, fill each tin about 3/4 of the way full. You should get between 30-36 cheesecakes depending on the size of your pans. Mine two pans were a little different in size.
Bake for 25-35 minutes or until centers are set. Cool cheesecakes in the pan, cover, then chill in the fridge overnight (or at least 8 hours). I chilled mine in the cupcake pan.
Cheesecake is better as it chills longer. I remove the paper liners before topping with frosting.
For the edible blood: Mix 4 parts corn syrup to 1 part water. Add red food coloring until desired color is reached. Add a drop of blue food coloring to give it an authentic color. Add cornstarch until desired thickness is reached.
Tips for Perfect Results
Mini cheesecakes are surprisingly forgiving, but a few simple tips will make them truly flawless.
First, make sure your cream cheese is fully at room temperature. Cold cream cheese is the fastest way to end up with lumps, and nobody wants that. Let it sit out for at least an hour before mixing.
When combining the cheesecake batter, mix just until everything is incorporated. Overmixing can whip too much air into the batter, which can lead to cracking as they bake and cool.
For the Oreo crust, press it down firmly. Using the back of a tablespoon works perfectly and helps create a solid base that won’t crumble when you peel off the liner.
Finally, chilling is non-negotiable. These cheesecakes really transform as they rest in the fridge. Overnight is ideal, but aim for at least eight hours if you can.
Variations and Serving Ideas
These mini red velvet cheesecakes are already stunning, but there’s plenty of room to play.
If you want to skip the “edible blood” drizzle, they’re just as delicious topped with fresh whipped cream, chocolate curls, or even a single raspberry for contrast.
For holidays:
- Valentine’s Day: Use heart-shaped toppers or pink sprinkles.
- Halloween: The edible blood drizzle makes them spooky and fun.
- Christmas: Swap the red food coloring for a deeper shade and add white chocolate shavings.
You can also pipe the cream cheese frosting with a star tip for a more bakery-style finish, or keep it rustic with a simple swirl using a spoon.
Serve them straight from the fridge for the best texture—cool, creamy, and ultra-satisfying.
Storage and Make-Ahead Tips
These mini cheesecakes are perfect for planning ahead.
Store them covered in the refrigerator for up to 5 days. I recommend waiting to add the frosting and any drizzles until closer to serving so everything looks fresh and clean.
They also freeze beautifully. Freeze the unfrosted cheesecakes on a baking sheet until solid, then transfer to an airtight container. They’ll keep for up to 2 months. Thaw overnight in the refrigerator before decorating and serving.
Because they’re individually portioned, they’re easy to grab, serve, and enjoy without any slicing or fuss.
Final Encouragement
If you’re looking for a dessert that feels festive, indulgent, and a little dramatic—in the best way—these Easy Mini Red Velvet Cheesecake Hearts are it. They’re rich without being heavy, adorable without being fussy, and guaranteed to impress anyone who sees them.
If you make them, don’t forget to save the recipe and share it with someone who loves red velvet as much as you do. These little hearts are meant to be shown off ❤️🍰