
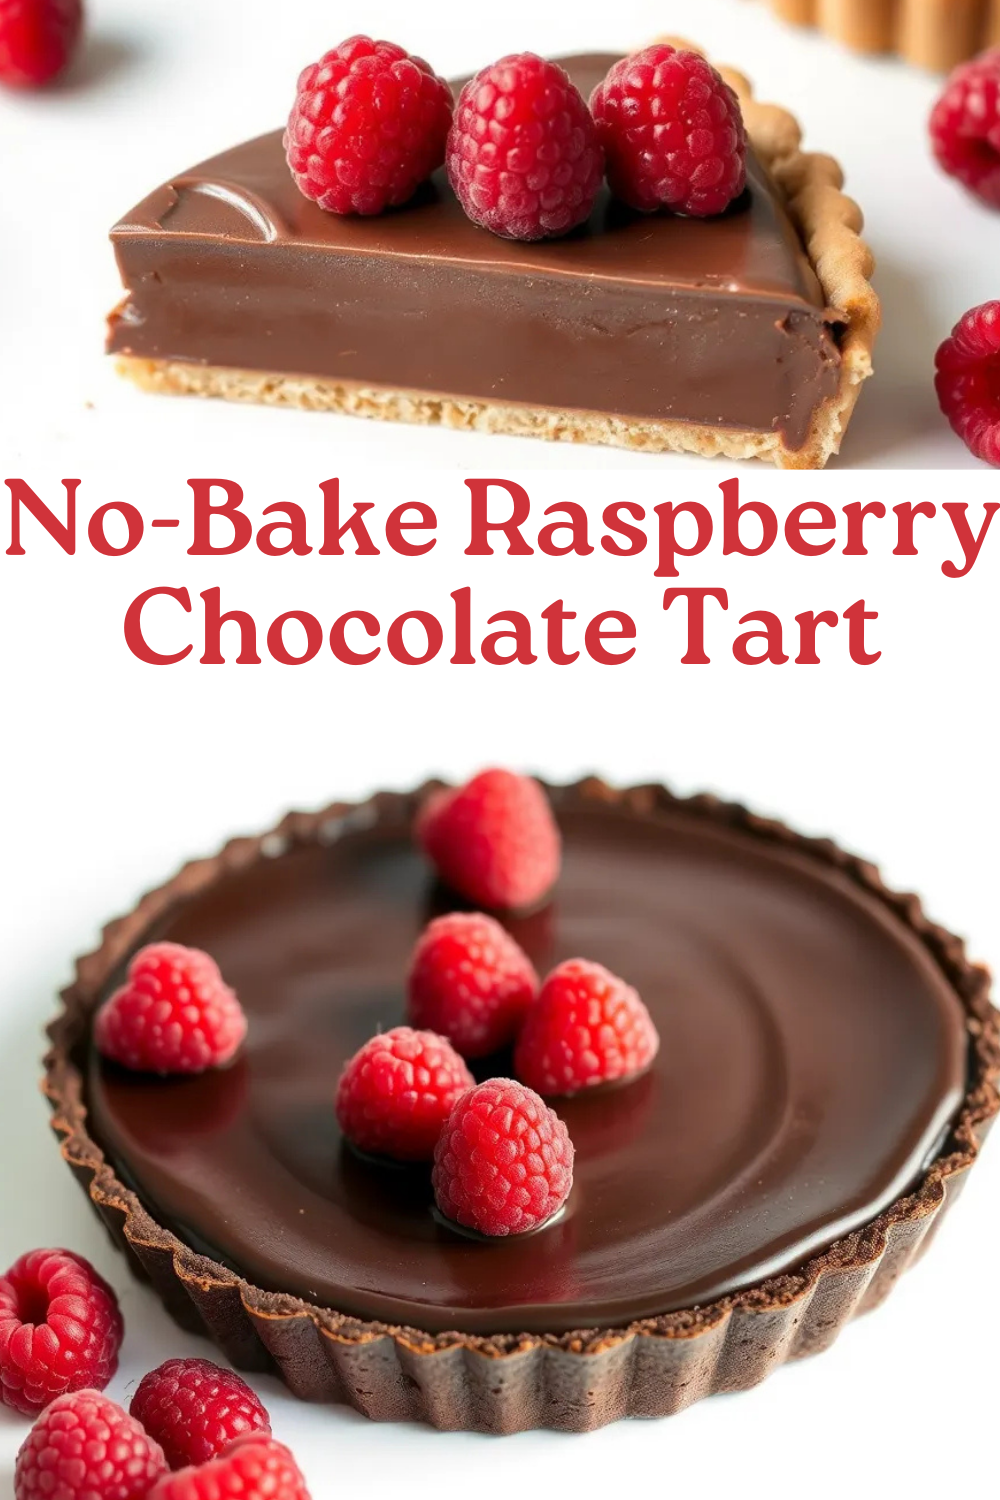
Some desserts feel like a little luxury moment, and this No-Bake Raspberry Chocolate Tart is absolutely one of them. It’s rich and silky, with a deep chocolate filling tucked into a crunchy cookie crust, all topped with fresh, juicy raspberries. The best part? No oven required. This is the kind of dessert you make when you want something that looks elegant and impressive but secretly comes together with very little effort.
I love this tart for warm-weather gatherings, dinner parties, or those evenings when you want something indulgent without turning on the oven. The contrast between the smooth chocolate and the bright raspberries is just magical. It’s dramatic, beautiful, and one of those desserts people keep sneaking back to the fridge for “just one more bite.”
PrintNo-Bake Raspberry Chocolate Tart
Ingredients
-
- 80 g Cocoa Powder – ⅓ cup
- 80 g Liquid Sweetener – ¼
- Water (as needed)
-
- 120 g Oat Flour (or blended oats) – 1 cup
- Water (as needed)
-
For the filling
-
- 200 g Dark Chocolate – 7 ounces
- 250 ml Coconut Milk – 1 cup
- 200 g Fresh Raspberries – 1 ½ cups
- 120 g Oat Flour (or blended oats) – 1 cup
Instructions
-
If not using a springform or loose-bottom cake tin, line your cake tin with parchment paper, at the bottom and up the sides.
-
In a bowl, mix oat flour, cocoa powder, and liquid sweetener. Gradually add water, 1 tablespoon at a time, until it forms a sticky dough.
-
Press the mixture evenly into a lined 7-inch tart tin, and press down and up the sides.
-
Melt dark chocolate and coconut milk in a heat-proof bowl using a double boiler or microwave in 30-second intervals, stirring between each.
-
Pour the chocolate filling into the crust and smooth the top.
-
Arrange raspberries upside down over the filling.
-
Refrigerate for 2 hours, or until set. For a quicker set time, place the tart in the freezer.
-
Once set, slice and serve chilled.
Tips for Perfect Results
Since this tart is all about simple ingredients, a few small details make a big difference.
Start with the crust. Whether you use Oreos, chocolate graham crackers, or even vanilla wafers, make sure the crumbs are finely crushed. This helps the butter bind everything together so the crust slices cleanly and holds its shape.
When melting your chocolate, go low and slow. Gently warming the chocolate with the heavy whipping cream keeps it smooth and glossy. Rushing this step can cause the chocolate to seize, and nobody wants that.
Using a mix of dark and milk chocolate gives the filling a balanced flavor—rich but not overly bitter, sweet but not cloying. If you prefer a deeper, more intense chocolate flavor, lean more heavily on the dark chocolate.
Let the tart chill long enough to fully set. This is the hardest part, but it’s worth it. A few hours in the fridge allows the filling to firm up into that perfect, silky texture.
Variations and Serving Ideas
This tart is incredibly versatile, which makes it fun to customize depending on your mood or the season.
While fresh raspberries are my go-to, you can easily swap them for sliced strawberries, blackberries, or blueberries. A mix of berries also looks stunning and adds extra color.
For the crust, feel free to experiment. Ginger snaps add a warm, spicy note, while vanilla wafers create a softer, sweeter base that pairs beautifully with the chocolate filling.
If you’re serving this for a special occasion, a light dusting of powdered sugar right before serving makes it look effortlessly elegant. You can also add chocolate curls, a drizzle of melted chocolate, or even a few fresh mint leaves for contrast.
This tart is perfect for summer dinners, holiday gatherings, Valentine’s Day, or anytime you want a dessert that feels fancy without being complicated. It photographs beautifully, making it ideal for sharing and saving for later.
Storage and Make-Ahead Tips
One of the best things about this no-bake tart is how well it fits into a make-ahead plan.
Store the tart covered in the refrigerator for up to 3 days. The flavors actually deepen as it sits, making it even better the next day.
If you want to prep ahead, you can make the crust and filling a day in advance and add the fresh raspberries just before serving so they stay bright and juicy.
Freezing isn’t ideal once the raspberries are added, but the chocolate filling and crust alone can be frozen. Thaw overnight in the refrigerator, then top with fresh fruit before serving.
Always keep leftovers chilled, especially if your kitchen runs warm.
Final Encouragement
If you’re looking for a dessert that feels indulgent, beautiful, and completely stress-free, this No-Bake Raspberry Chocolate Tart deserves a spot in your recipe collection. It’s rich without being heavy, elegant without being fussy, and always a crowd-pleaser.
Whether you make it for guests or just for yourself, this is the kind of dessert that turns an ordinary moment into something special. Don’t forget to save it for later—you’ll want to come back to this one again and again 🍫🍓✨